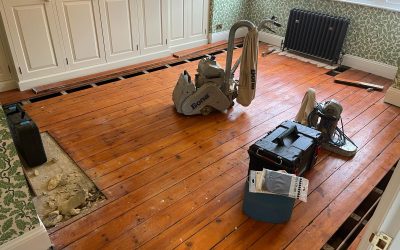

Transform your parquet results with proper acclimatisation and moisture control
When a parquet floor is revived well, it’s a showstopper—crisp geometry, silky sheen, and the satisfying warmth only real timber brings. But parquet is also unforgiving. One rushed decision, the wrong product, or a skipped step can turn a handsome herringbone into a permanent patchwork of regrets. This guide is your practical, plain-English list of “do nots”, gathered from years on site, so you can avoid the traps that catch even confident DIYers and the occasional contractor.
If you’re considering Restoring parquet floors, read this first. It’ll save you time, money, and the heartache of having to redo work—sometimes at twice the cost.
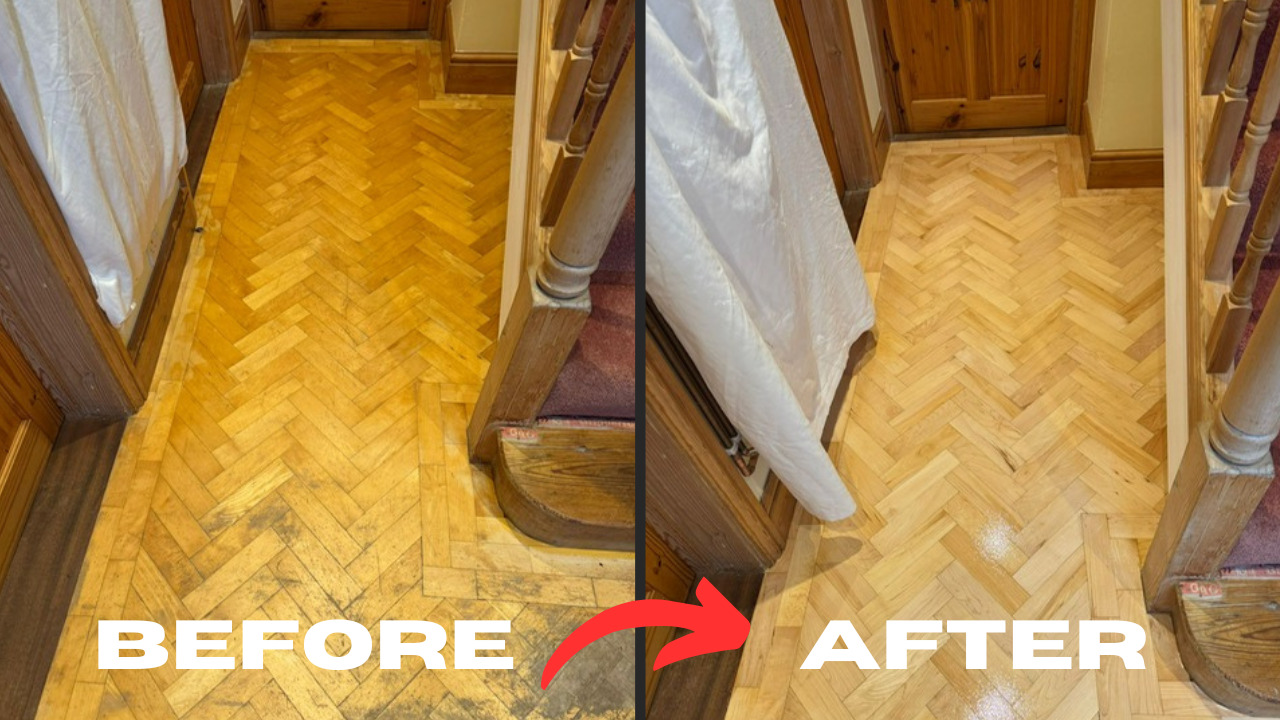
1) Don’t skip a proper survey and moisture tests
Before a single machine touches timber, confirm the building and subfloor are stable. Wood moves with relative humidity (RH) and temperature. Old parquet, often laid over bitumen or onto screed/timber subfloors, is especially sensitive. Use a hygrometer to record room RH and temperature; use a quality moisture meter to take readings in multiple spots (including problem areas by external walls, radiators, doors, and where rugs have sat). Document it all.
If moisture is high, pause. Track down the source—leaks, poor ventilation, damp screeds, or bridging at thresholds. Sanding and sealing a damp floor traps moisture: blocks can cup, edges lift, and finishes go cloudy. As a rule of thumb, acclimatise the room to normal “lived-in” conditions for days (sometimes weeks) before you proceed.
Bottom line: before Restoring parquet floors, never start blind. Measure first; act second.
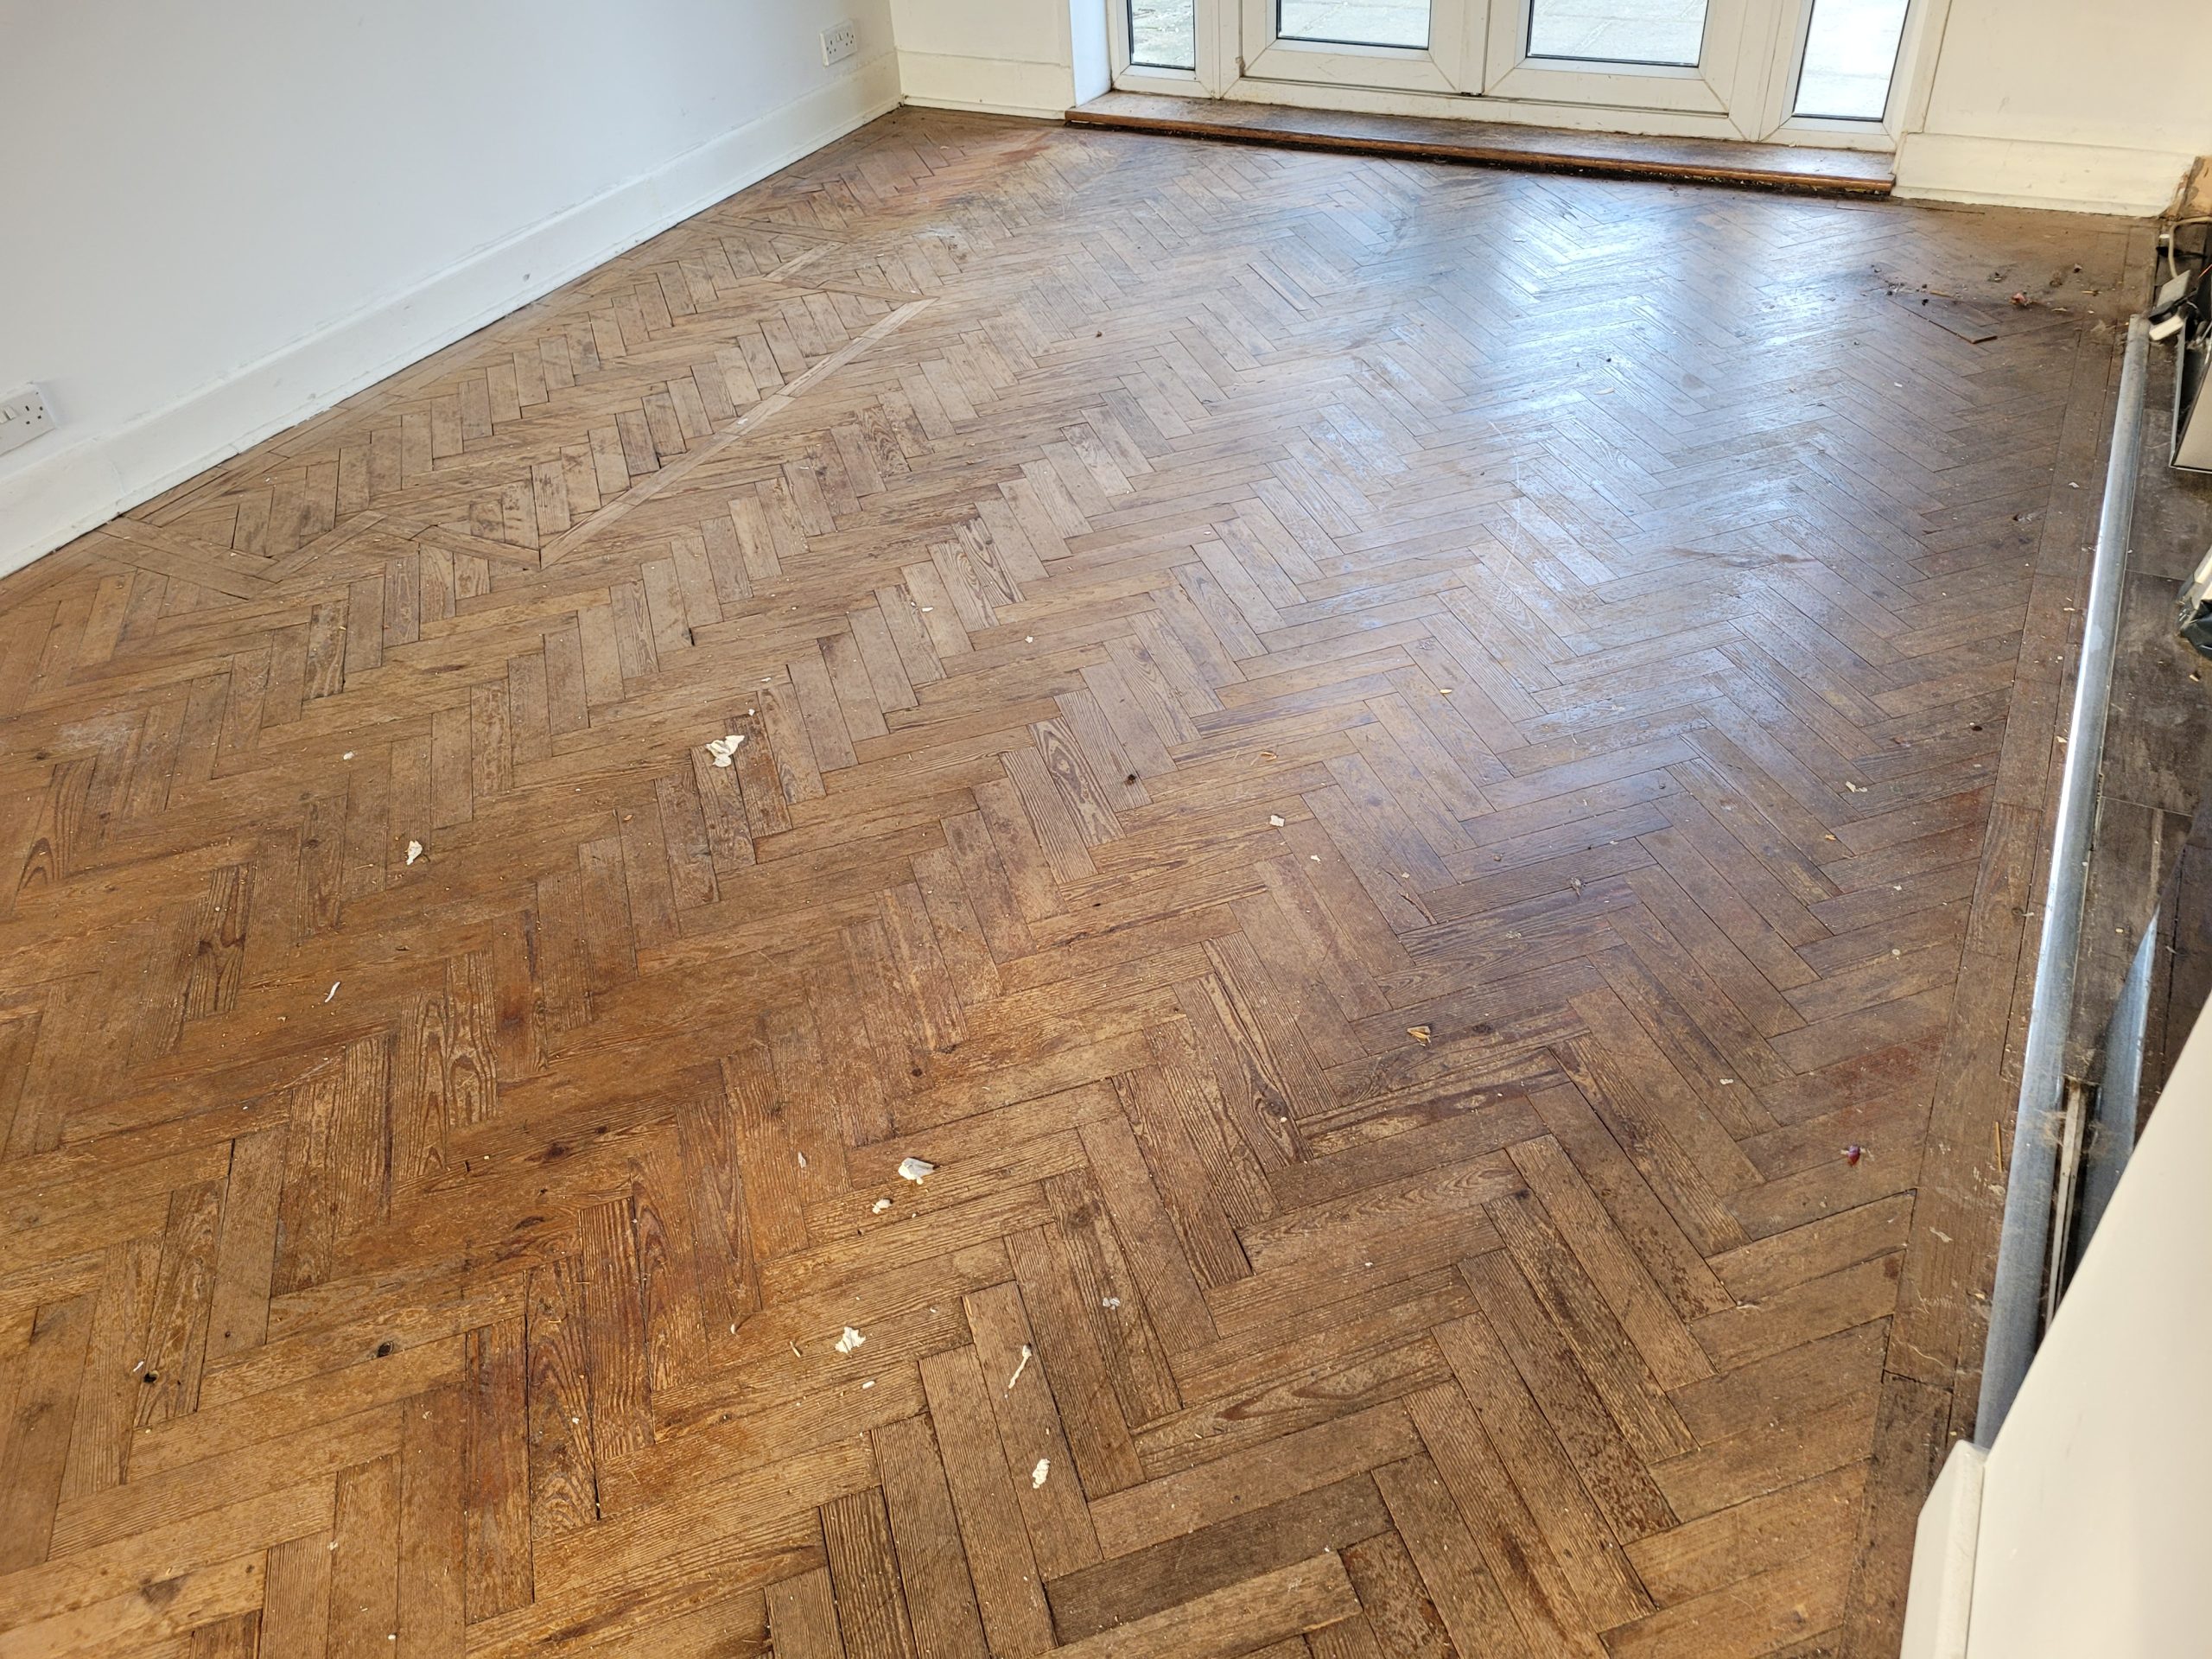
2) Don’t assume every block is sound
Tap the floor and listen. A crisp “tock” suggests a tight bond; a hollow “thunk” hints at movement or debonding. Probe suspect zones. You’ll often find loose blocks near radiators, old pipe runs, or areas of historical water ingress. Lift what’s moving now—because traffic will finish the job later.
When you lift blocks, catalogue the pattern (herringbone, basket-weave, Versailles-style panels), note orientation, and mark reference lines. Clean off old bitumen carefully (a sharp scraper and patience beat brute force), and bag debris before it spreads everywhere. Don’t grind bitumen with your main sander; it smears, clogs belts, and can stain timber.
3) Don’t guess the timber species, grade, or pattern rules
Parquet is not always oak. You’ll encounter merbau, teak, beech, maple, and the odd exotic. Species matters for sanding behaviour, colour response to stains, and the finish you choose. Beech, for instance, can blotch with water-based stains; old tropical species can bleed oils.
Study a loose block: grain, weight, and smell can be telling. Make a few test passes and sample finishes on spare blocks (or an inconspicuous corner). Note border rules: many old floors have a picture-frame or tramline border that demands specific cutting sequences. If you wing it, you’ll scuff borders with the edger or misalign the herringbone “feather”.
4) Don’t use the wrong adhesive—or reach for PVA
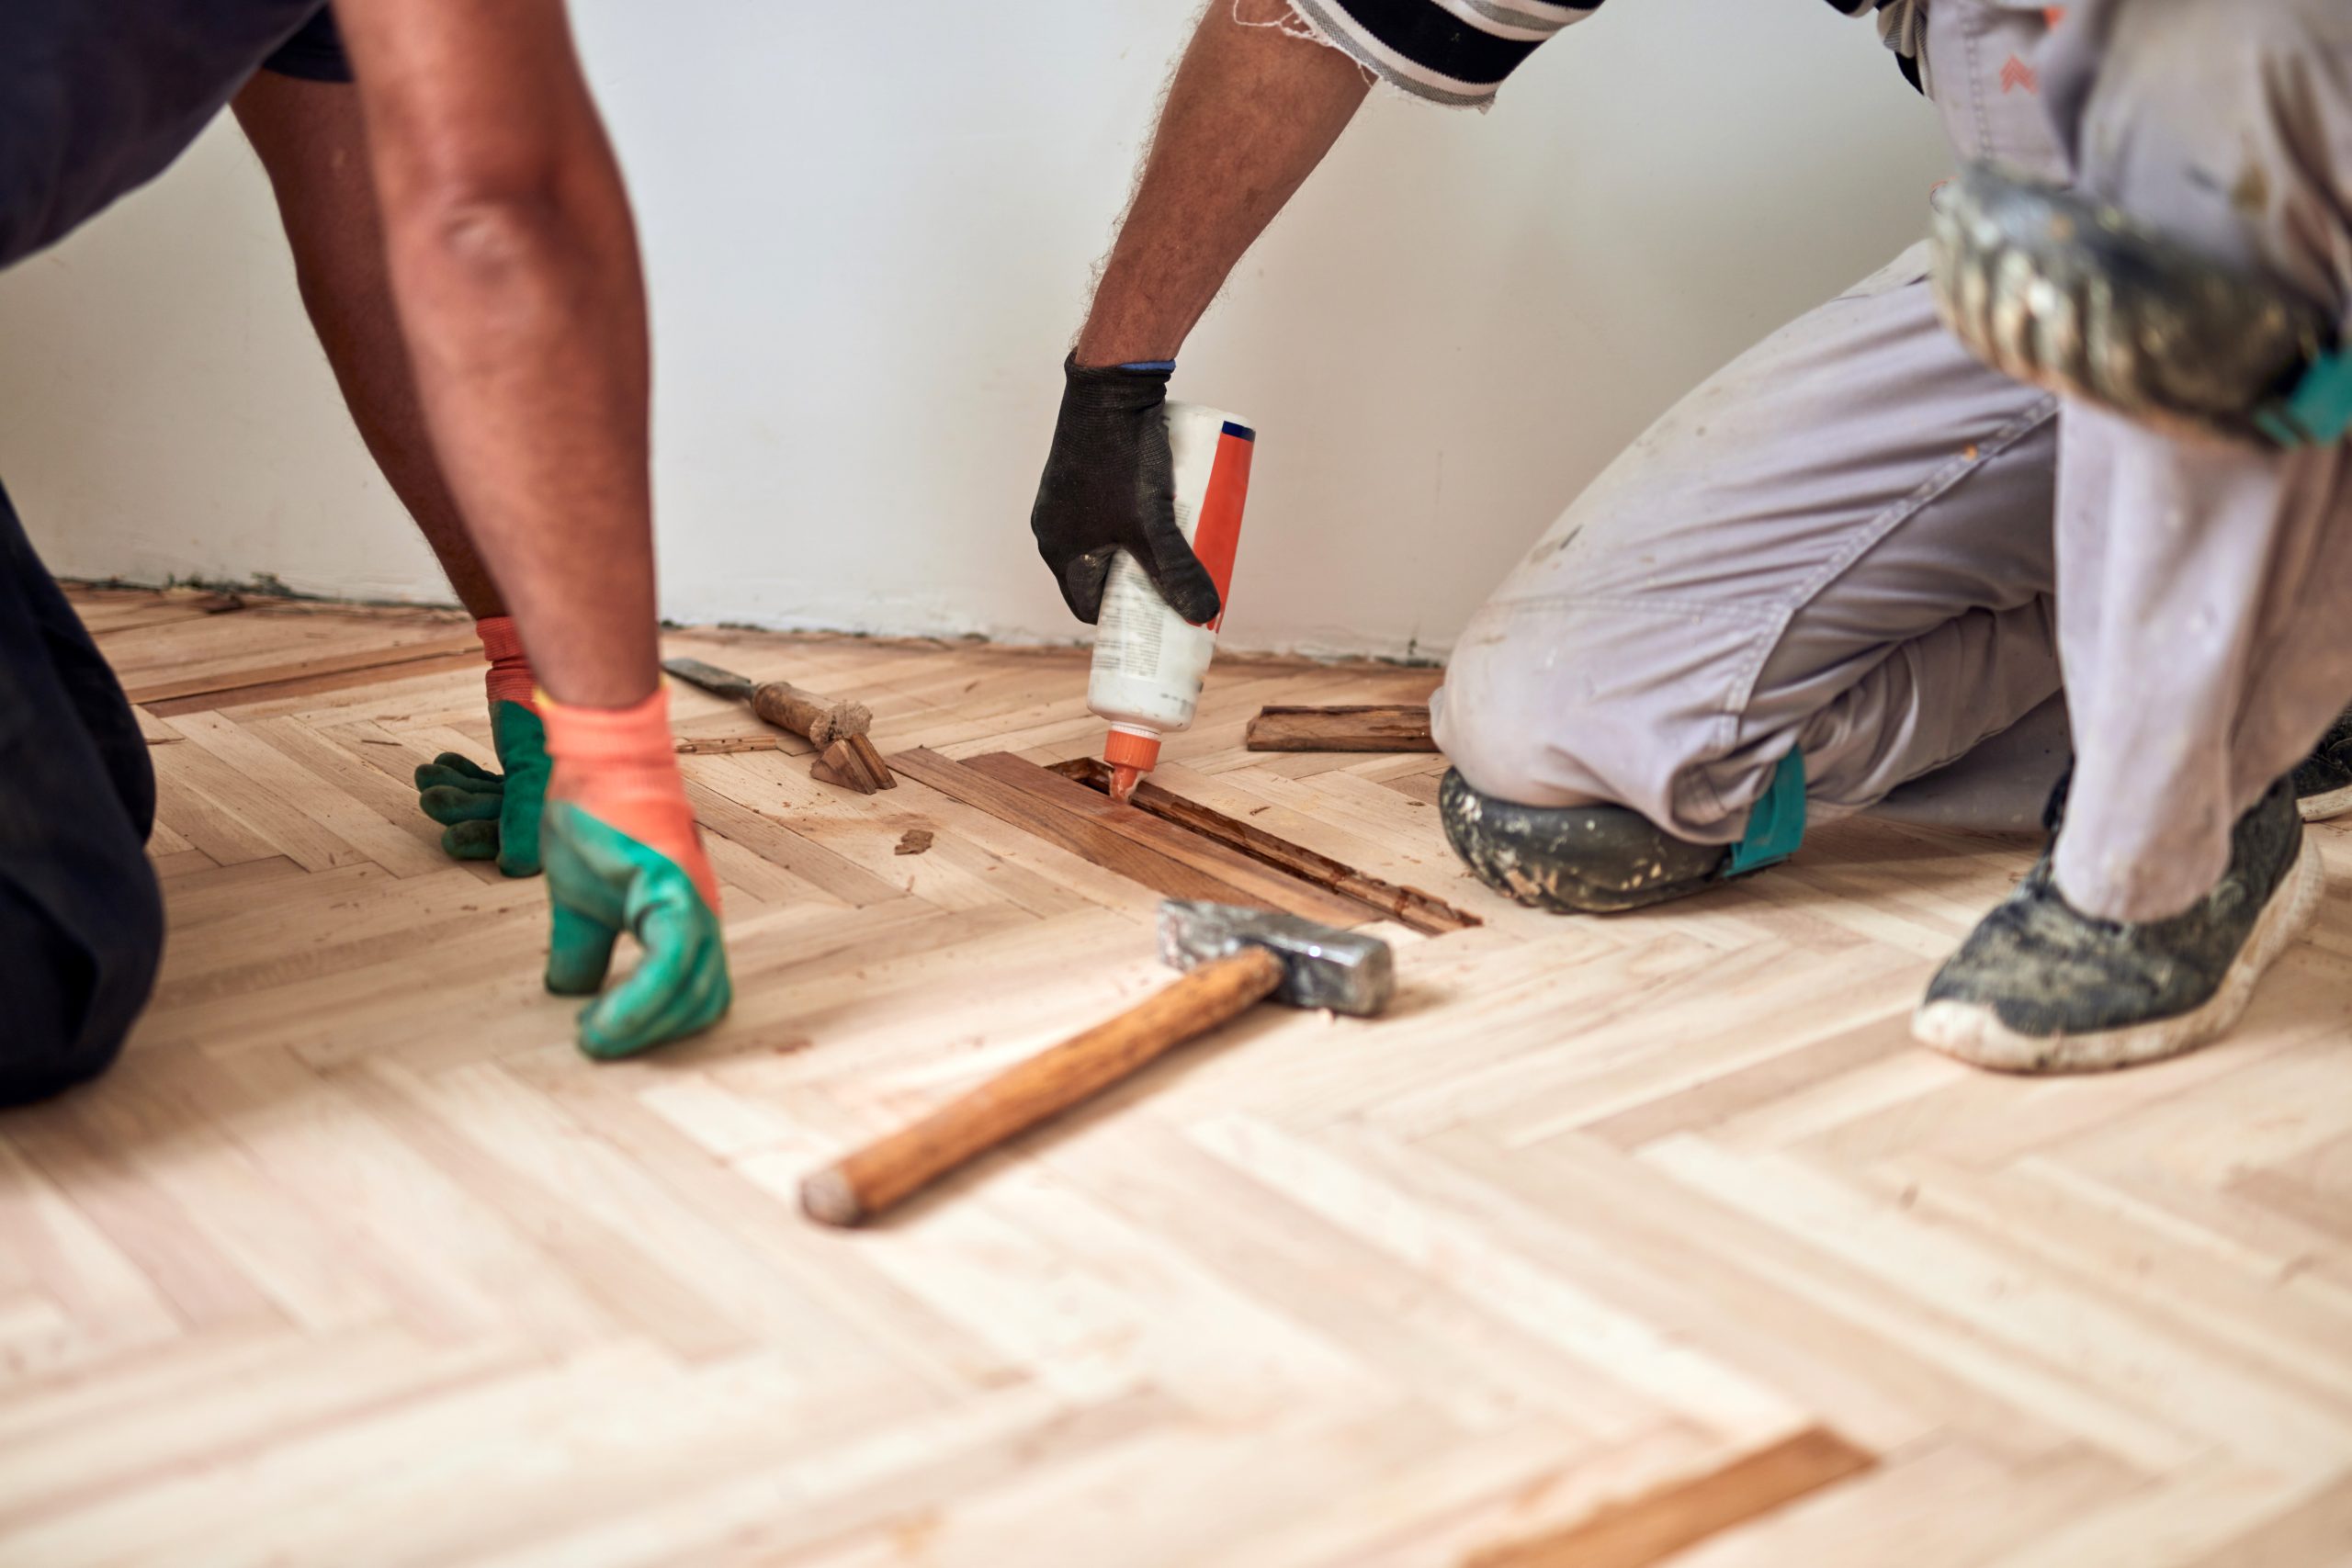
Re-fixing loose blocks demands the right adhesive and the right subfloor prep. Avoid ordinary PVA—its water content can swell timber and it’s the wrong chemistry for bonding to old bitumen. On bitumen or contaminated screeds, a modern MS-polymer or epoxy parquet adhesive (compatible with the substrate) is the safer bet. Key and clean the back of each block. Remove dust with a tack cloth before laying.
Spread adhesive with the correct notched trowel and respect open time. Press blocks firmly, align to your reference lines, and weight the repair evenly while it cures (plates or sandbags on protective sheets, not bare metal). A small mistake here telegraphs through the entire field once you sand. Applied well, the repair disappears; applied poorly, it shines like a crooked tooth—and you’ll hate it every time you walk through the room during or after Restoring parquet floors.
5) Don’t over-sand, under-vacuum, or jump grits
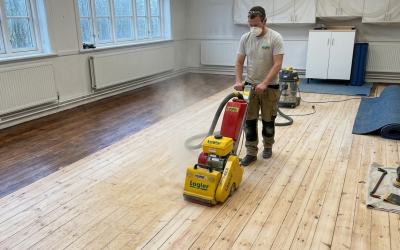
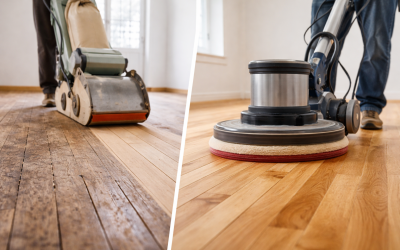
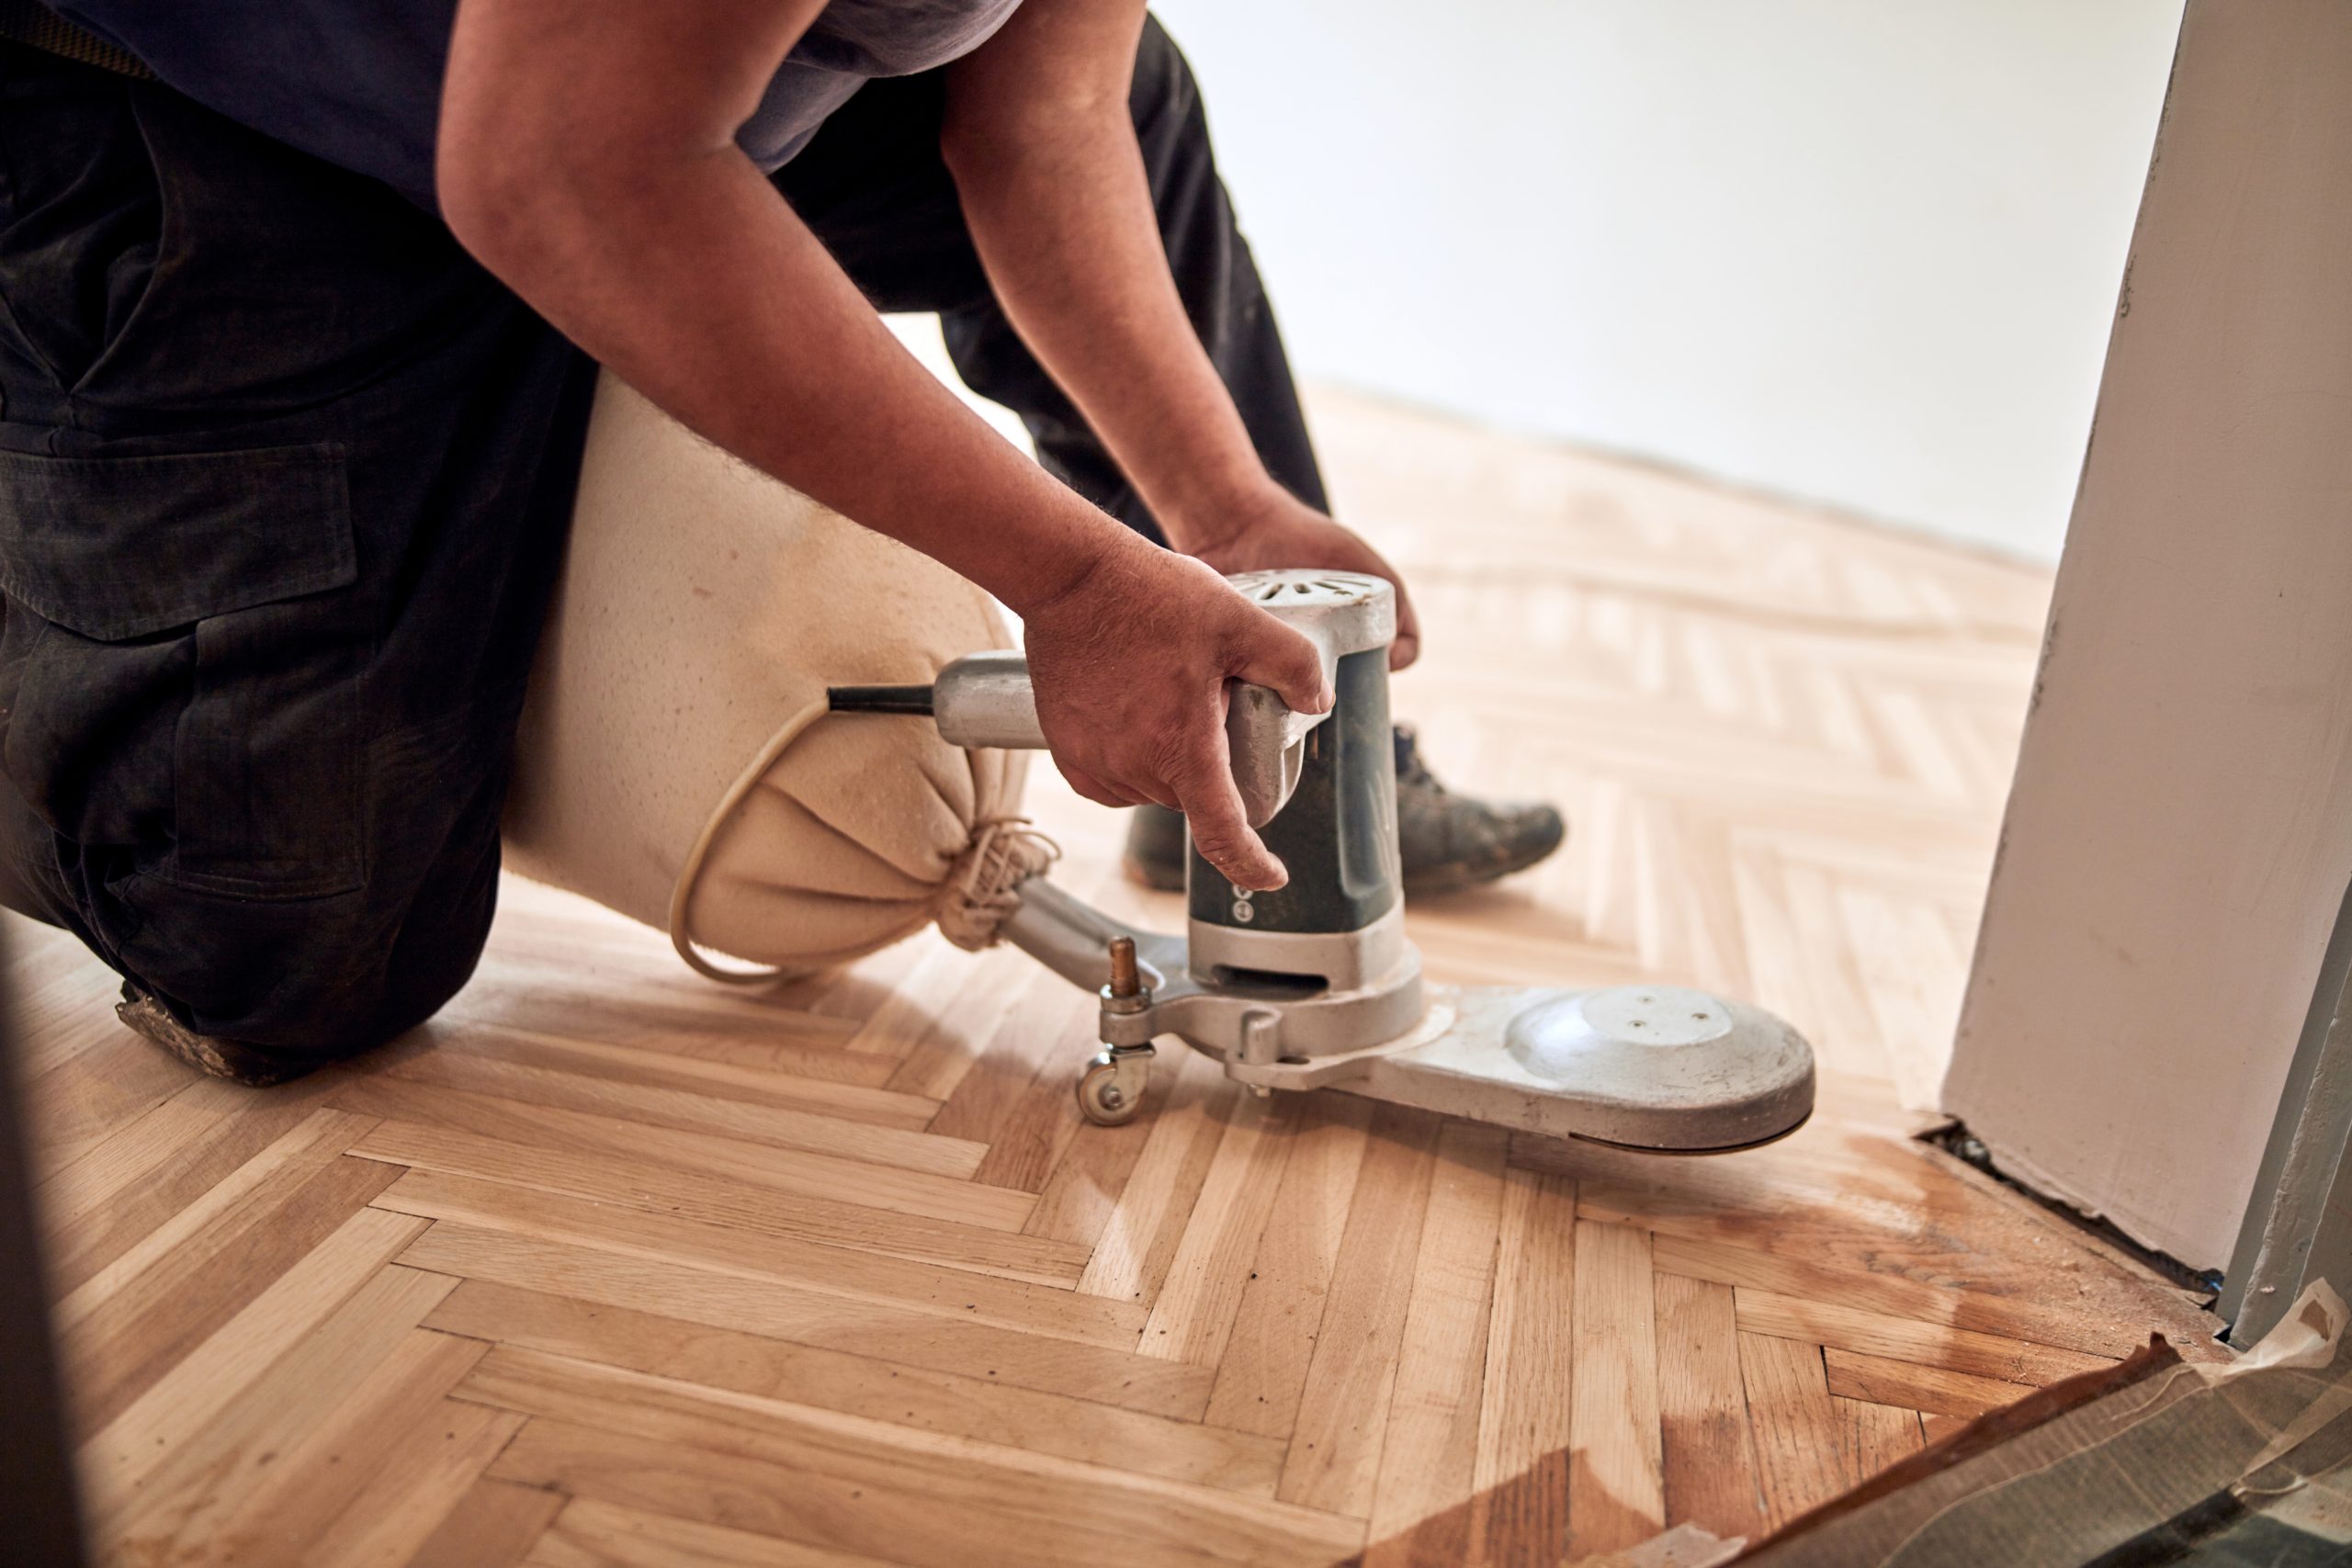
Parquet hates impatience. Start too coarse and you’ll cut deep scratches across short grain; start too fine and you’ll polish over high spots, leaving old finish in the low. Select a sensible progression (for example: 40 → 60 → 80 → 100 for oak in average condition), but let the floor tell you when to move on. If scratches from the previous grit are still visible, you’re not ready.
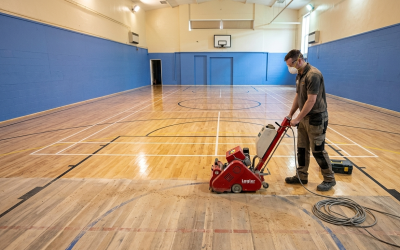
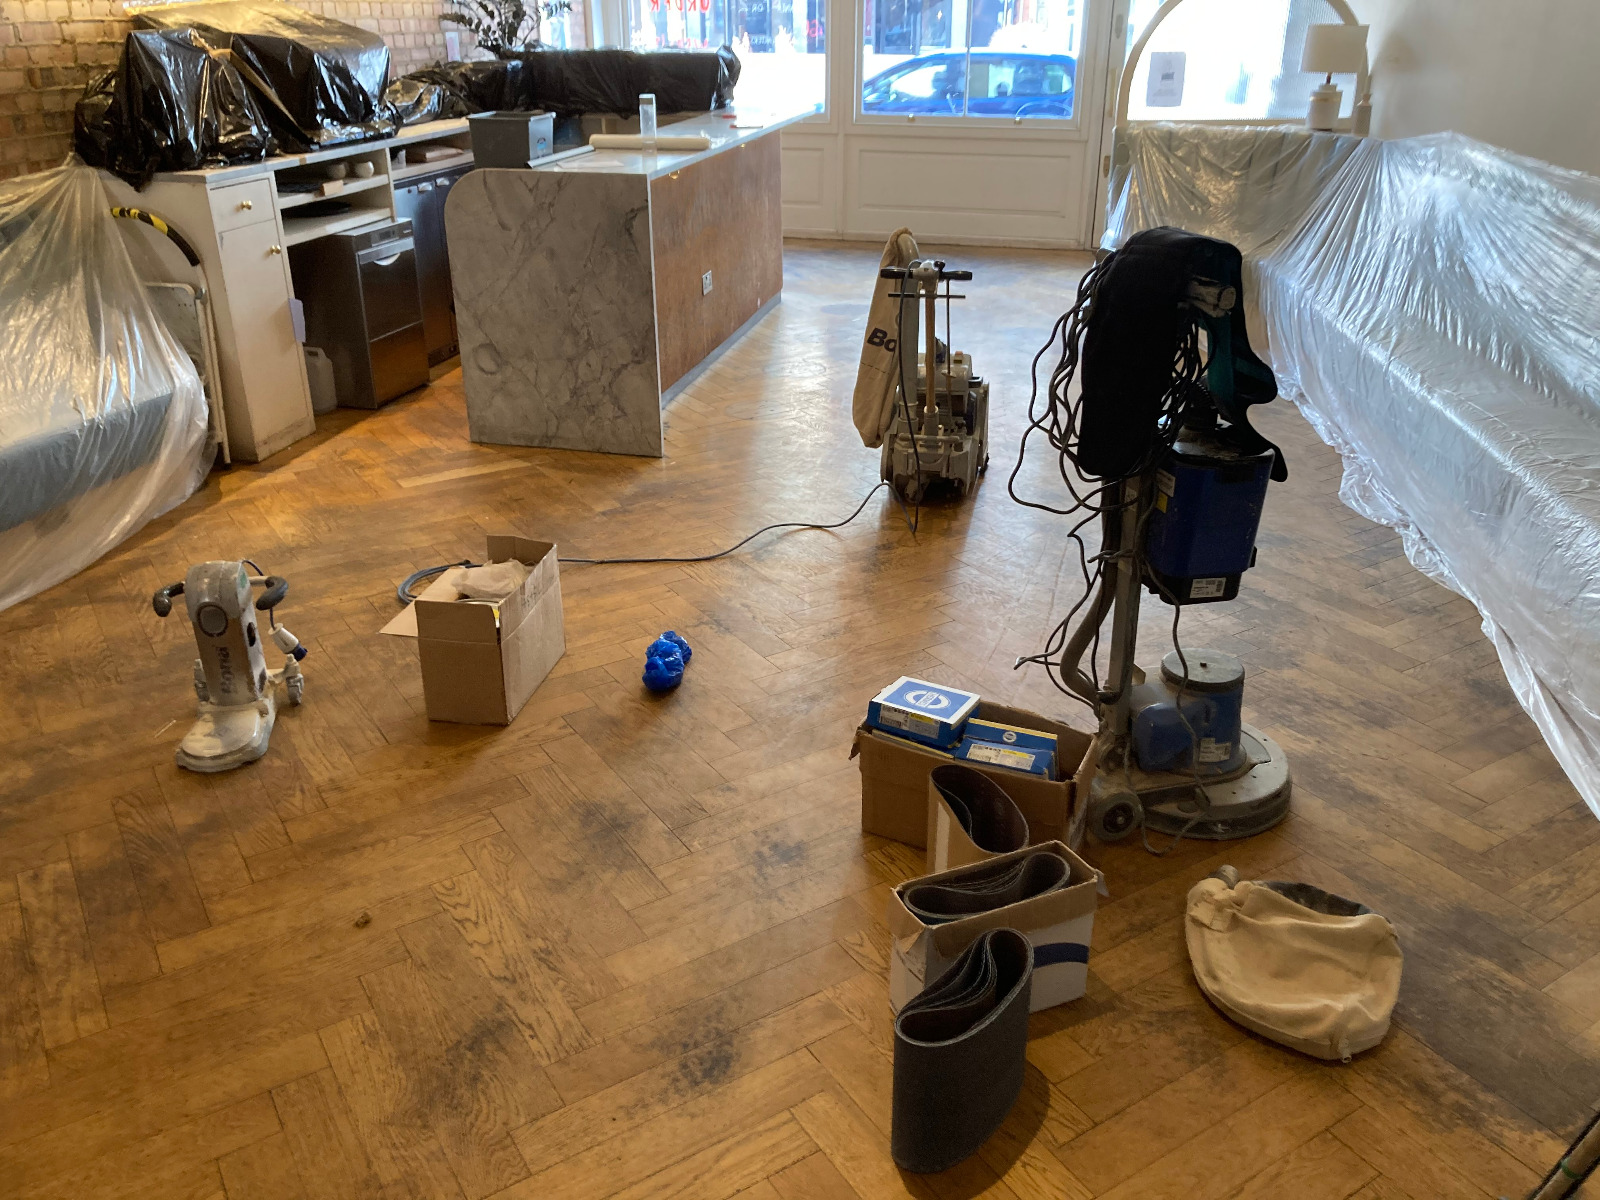
Use a clean, well-set belt or drum sander for the main field. Keep it moving; dwell marks and “chatters” are merciless under daylight. Always “clock” your diagonal passes to flatten the field, then finish with passes aligned to the pattern (often with a multi-disc). Edge work must blend seamlessly—don’t tilt the edger and dish the perimeter.
Vacuum fully—twice—between grits, including skirting, radiators, and sockets. Dust left in the pores acts like talc; stain goes patchy, and finish adhesion suffers. If you’re Restoring parquet floors, good dust control is not a nicety; it’s the difference between crisp geometry and a hazy, scratch-filled haze.
6) Don’t ignore edges, borders, and the critical diagonal cut
Parquet planes aren’t flat by accident—they’re made flat with method. The diagonal cut flattens the field across short grain so your final pattern-aligned passes don’t “hunt” up and down micro-ridges. Miss this and you’ll chase ridges forever.
At edges, match the scratch footprint of your main machine: if you finish the field at 100 grit, don’t leave the edge at 60. Blend with a random-orbital and an interface pad to avoid “edger swirl”. Where the herringbone meets a border, slow down—one sloppy move and you’ll undercut the border or roll its edge.
7) Don’t mix incompatible stains, sealers, and topcoats
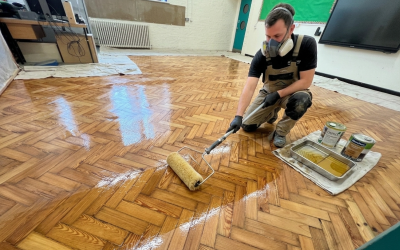
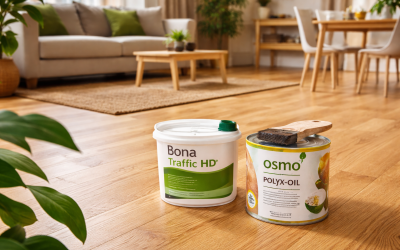
Not all finishing products play nicely together. Water-borne sealers over oil-heavy stains can fisheye; solvent lacquers over water-based sealers can craze; tannin-rich species can react unpredictably with reactive stains. Pick a system (stain → sealer → topcoat) from one manufacturer where possible, read the data sheets, and stick to their windows for recoating.
Always, always do a full sample: sand a spare block or taped-off patch through your final grit, then apply your exact sequence—stain, sealer, two or three topcoats—with your chosen applicator. Check in daylight and at night. If you’re Restoring parquet floors, never discover incompatibility on your first coat—discover it the day before, on a test panel you can sand off in ten minutes.
8) Don’t rush drying or force cure with aggressive heating
Finishes have drying and curing profiles for a reason. Piling on coats too soon traps solvent or water, causing cloudiness, soft films, or adhesion failure. Cranking the heating or blasting dehumidifiers might seem clever but can backfire. Rapid swings in RH and temperature stress the coating and the timber beneath it, encouraging gaps or even micro-checking.
Respect recoat times. Provide gentle airflow—open doors between rooms, use fans on low, and ventilate without creating a dust storm. Keep pets, children, and shoes off until the finish is not just dry to the touch, but cured enough for light traffic as per the manufacturer’s guidance.
9) Don’t forget expansion, thresholds, and trims
Timber needs to breathe. If old skirting or thresholds have been hard-sealed against the parquet, inspect the expansion allowance. Where necessary, re-establish a discreet gap and cover it with an appropriate bead or refitted skirting. At doorways, plan for height transitions: sanding may lower the parquet, and new finishes or underlays in adjacent rooms can change levels. A misjudged threshold becomes a trip hazard and an aesthetic sore.
10) Don’t leave dust in the grain—or skip the filler step
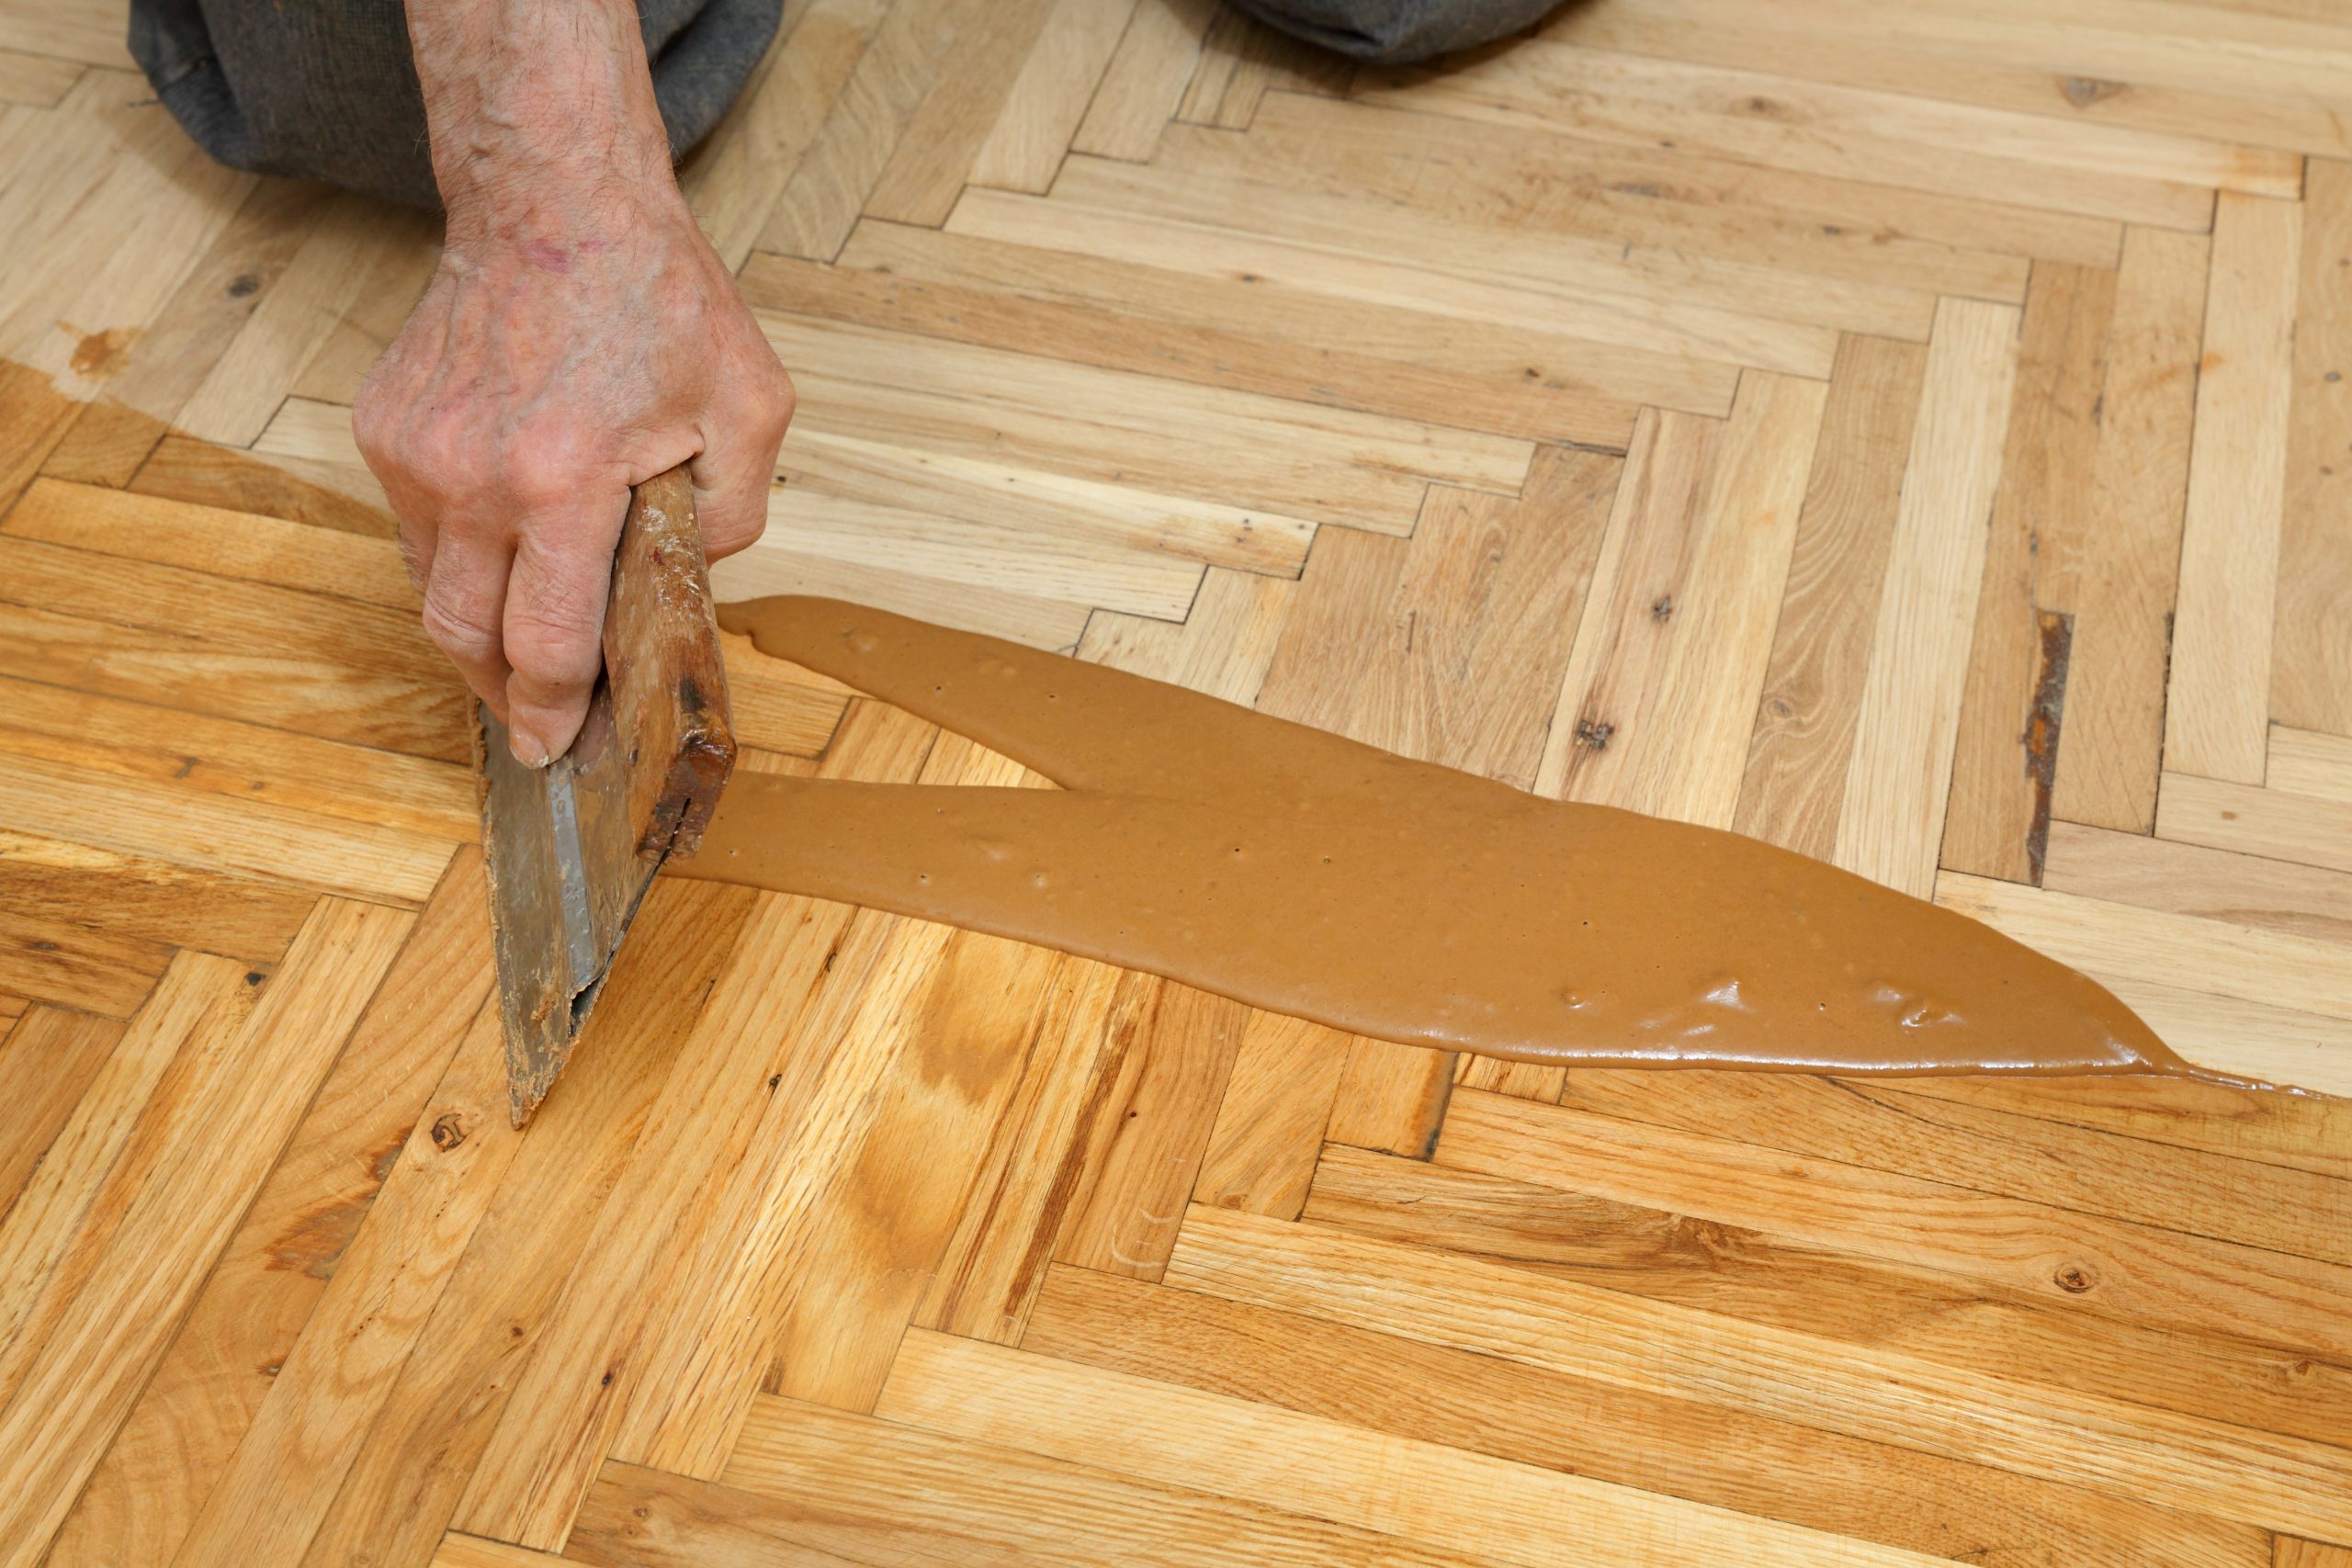
Parquet often has fine gaps between blocks. After your middle grits, consider slurry-filling: mix fine sanding dust from the same species with a compatible filler or resin and work it across the surface with a flexible trowel. This knits hairline joints, reduces draughts, and improves the visual continuity of the pattern.
But filler is not a substitute for cleanliness. Vacuum thoroughly after it sets, then polish with your final grits. Finally, a meticulous tack—microfibre cloths or the manufacturer’s recommended tack wipes—keeps nibs out of your finish.
11) Don’t choose sheen or colour without a daylight test
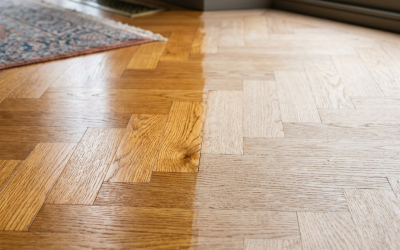
Lights lie. Overhead LEDs can make a high-gloss finish look brilliant at night but brutal in daylight, revealing minute sanding marks. Likewise, a deep stain that looks rich in a shaded hall can swing too dark in a south-facing lounge.
Make proper samples: at least A4 sized, placed where the floor will live, viewed morning, midday, and evening. Consider how furniture, rugs, and sunlight will interact. Satin suits most homes—flattering, practical, and forgiving. Matt can be elegant on modern schemes; gloss is stunning but merciless.
12) Don’t ignore aftercare—protect the floor you’ve just revived
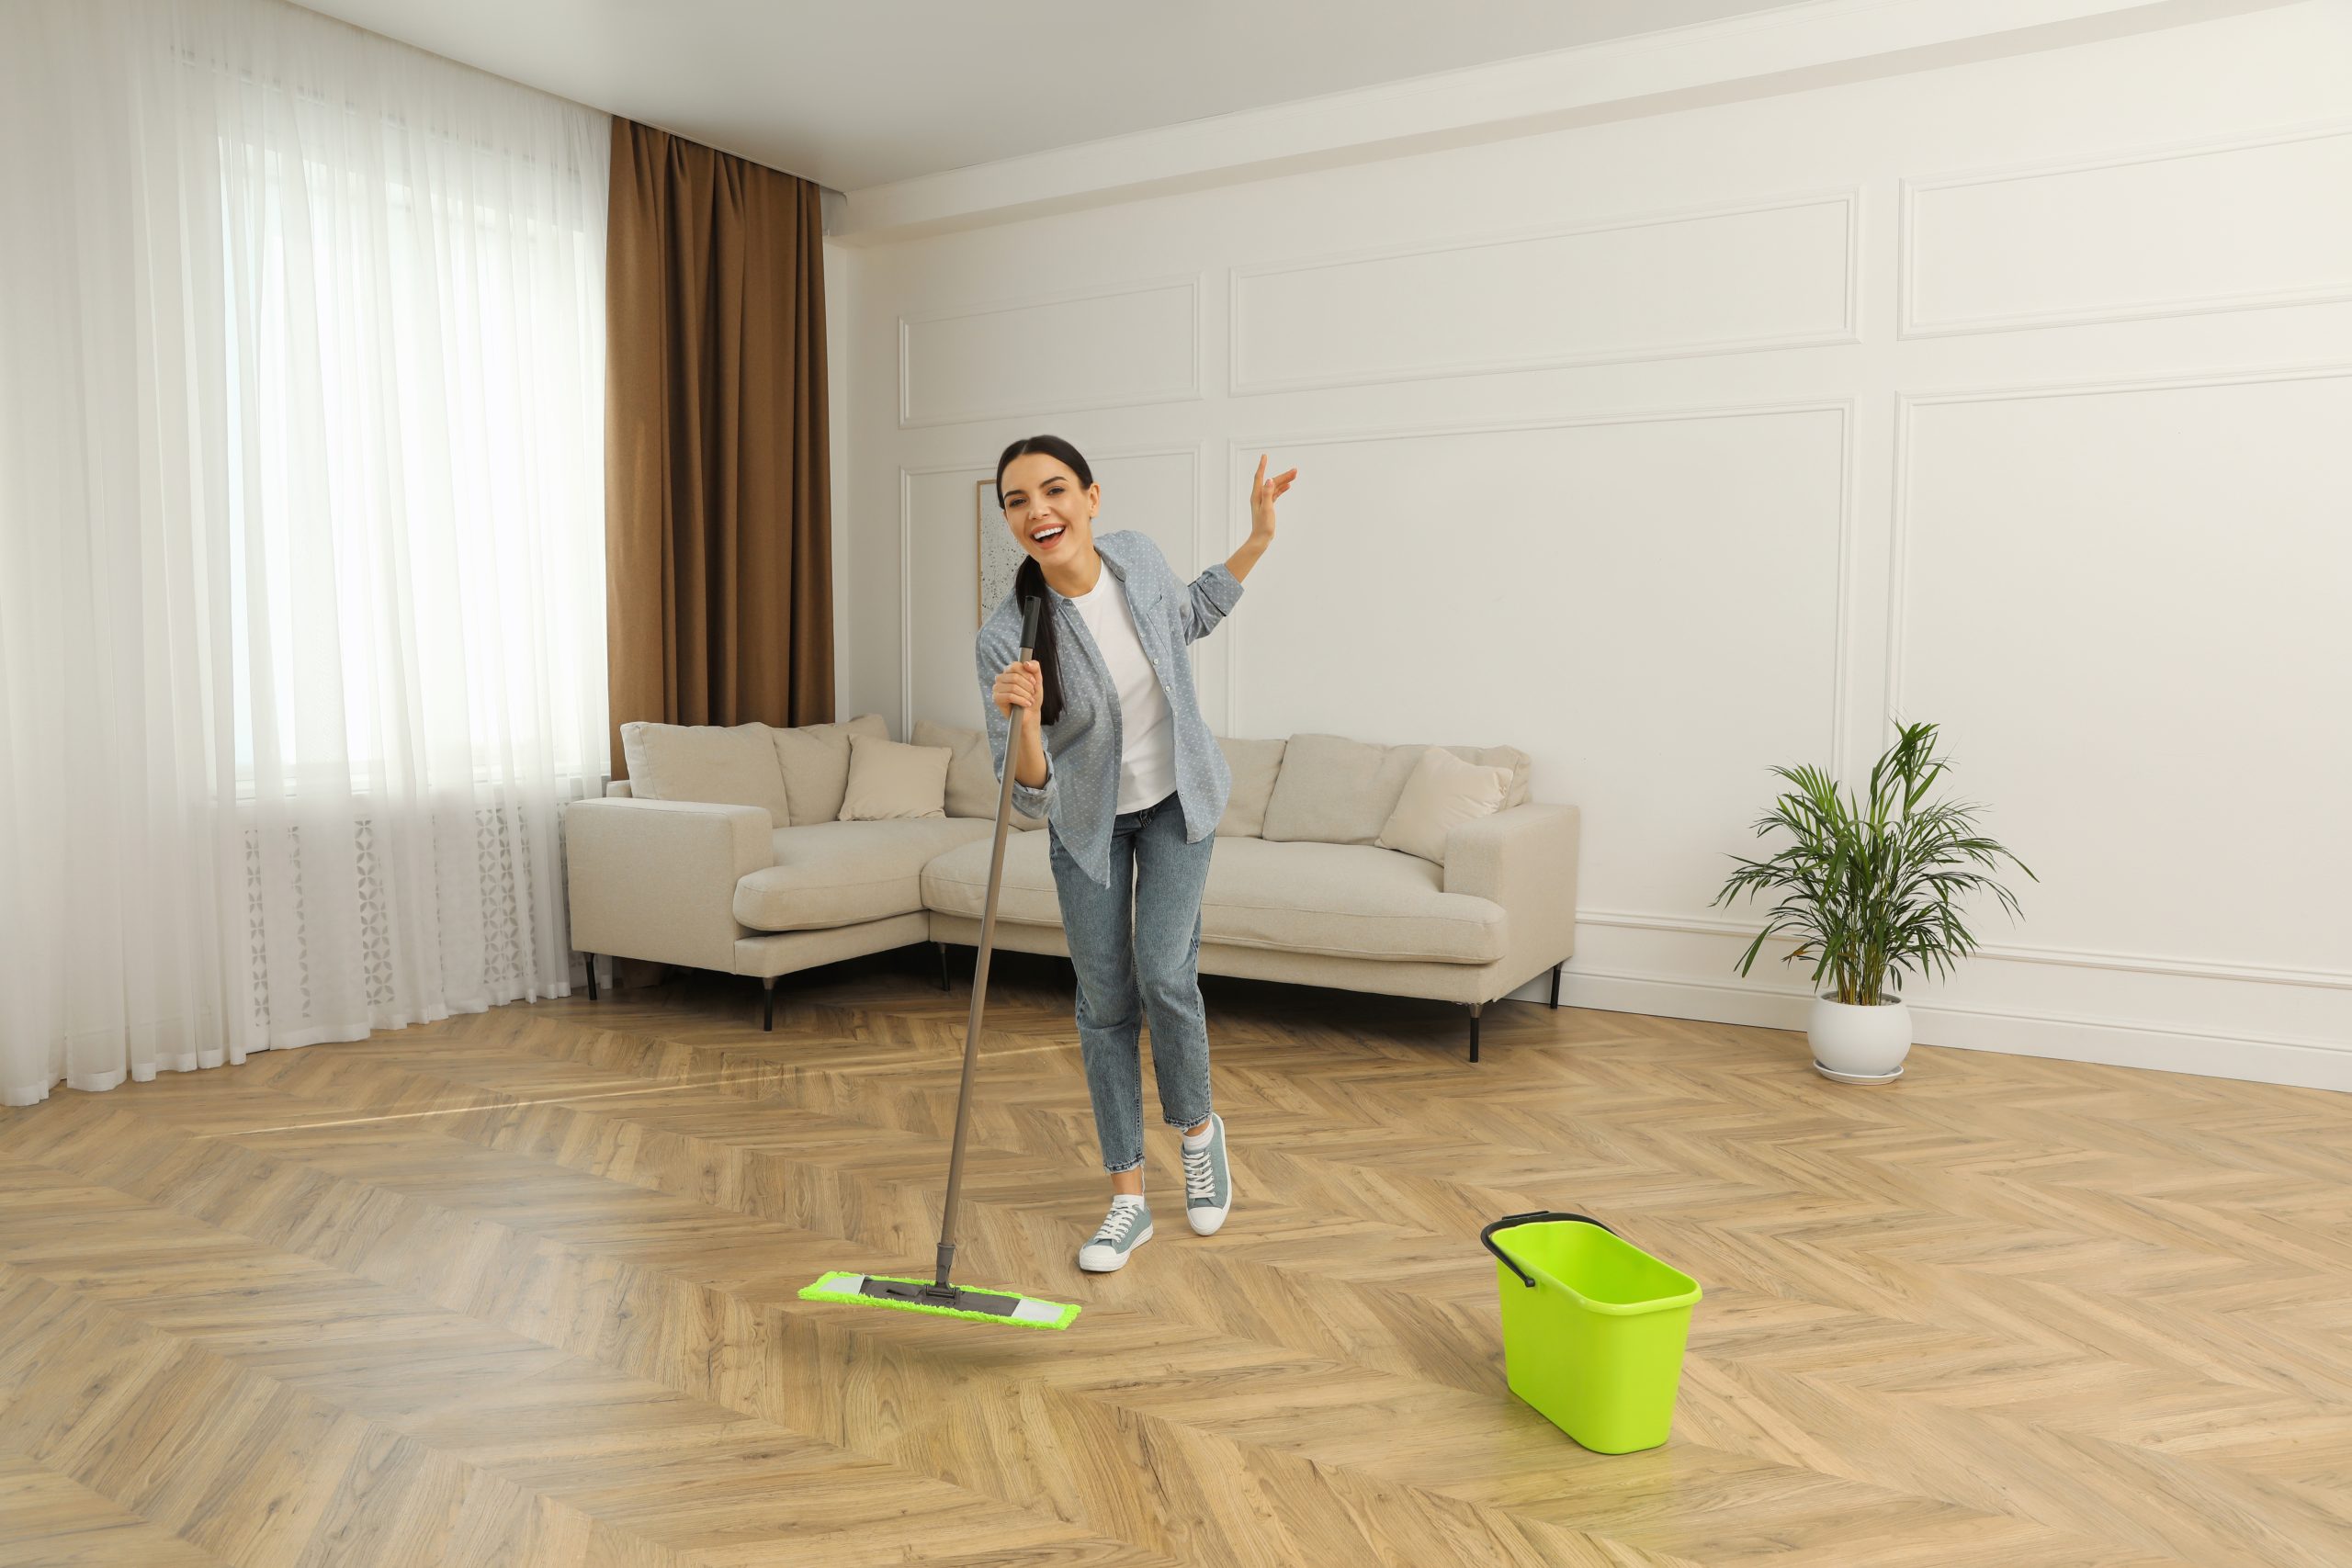
Fresh finishes are susceptible to micro-scratching and scuffs. Fit felt pads under chairs, add a decent doormat to intercept grit, and lift—don’t drag—heavy items. Clean with a pH-neutral wood floor cleaner (no bleach, no steam mops). Schedule maintenance: hardwax oils and penetrating finishes benefit from replenishment; lacquers may need a refresher coat years down the line before wear breaks through.
A simple care routine preserves the geometry and glow you’ve worked so hard to reveal.
A quick case study: two living rooms, two outcomes
Home A: The owners tested moisture, re-fixed loose blocks with the correct adhesive, flattened the field with a diagonal cut, sample-tested a water-borne lacquer system, and respected cure times. The result? A crisp herringbone that looks calm in daylight and cosy at night.
Home B: The owners skipped acclimatisation, used PVA on bitumen, jumped from 40 to 100 grit, and mixed an oil stain with a generic lacquer. Within weeks the floor showed ridges, cloudy patches, and curls along the radiator line. They paid twice—once for the failed attempt, once for the professional redo.
Tools and materials you’ll wish you hadn’t skimped on
- Moisture and RH meters: essential diagnostics, not luxury gadgets.
- Quality abrasives: cheap belts shed grit and scorch timber.
- Vacuum with HEPA filtration: keeps dust out of pores and lungs.
- System-matched finishes: stain, sealer, and topcoat designed to work together.
- Proper adhesives for repairs: MS-polymer or epoxy where appropriate.
- Lighting: a bright work light angled low will reveal scratches your ceiling lights hide.
FAQs
Can I sand a parquet floor with a random-orbital only?
You can, but it’s slow and risks washboarding on uneven fields. A belt/drum for flattening plus a multi-disc for refining gives better, more uniform results.
Do I need to remove every trace of old bitumen?
You need a clean, sound surface where blocks are re-bonded and a flat plane to sand. Scrape off the bulk from block backs and any ridges that would print through; you don’t have to chase every stain deep into the substrate.
How many coats of finish are best?
Typically one sealer plus two topcoats for lacquers; for oils/hardwax oils, follow the system guidance—often two thin, well-worked coats, sometimes with a maintenance product later.
Is a matt or satin finish more durable?
Durability comes from the chemistry and film build, not just sheen. That said, satin hides micro-scratches better than high gloss.
The professional edge (and when to call one)
There’s a world of difference between a tidy DIY and a floor that wins compliments for a decade. Pros bring calibrated machines, disciplined grit progressions, dust extraction that actually extracts, and a “measure twice, cut once” mentality that avoids those irreversible scars.
- Complex patterns, inlays, or border work?
- Mixed species or unknown finishes?
- Movement or damp history in the subfloor?
These are good reasons to get expert eyes on site before you start.
Your next steps
- Survey and plan. Measure RH, temperature, and moisture. Mark pattern lines and note borders.
- Stabilise. Re-fix any loose blocks with an appropriate adhesive; allow full cure.
- Sand with method. Diagonal flatten, then pattern-aligned passes; blend edges; vacuum between grits.
- Sample the finish. Complete system, full sequence, in daylight.
- Finish with patience. Respect recoat times, cure gently, and keep the area pristine.
- Protect. Pads, mats, and a sensible cleaning kit from day one.
Final thought
Parquet restoration rewards patience and punishes shortcuts. If you’re Restoring parquet floors in Harrow or nearby, and you’d rather skip the stress (and the cost of learning mistakes the hard way), bring in a specialist team. You’ll get a measured process, transparent advice on finishes, and a floor that makes the room—quietly and beautifully—the moment you walk in.